How to create an invoice with Zapier
In this article, you will be shown how to use a no-code tool like Zapier to create an invoice directly from your browser using nothing but a browser extension and Google sheets.

In this article, you will be shown how to use a no-code tool like Zapier to create an invoice directly from your browser using nothing but a browser extension and Google sheets.
If you are familiar with Zapier and how this integration works or want to get started and follow along, here are the Google Sheets Template and the Zap Template. You will need a Zapier account and a cloudlayer.io account to begin.
What is no-code?
You have probably heard this term before, and what it means is that you do not need to be a developer to use this integration. You will not need to write any code. You can use the user interface to set up the entire integration from start to end.
What is Zapier?
In this article, we will be demonstrating our Zapier no-code integration specifically. Zapier is a very powerful no-code tool that integrates with hundreds of thousands of other platforms across the web. This will allow you to set up complex workflows to use other products that you know and love with our service with minimal effort.
Choosing a Free Invoice Template
We offer several invoice templates to choose from, and using these templates is included as part of our service at no additional charge. You can browse these templates in our PDF Invoice Template gallery.
Once you have found a template that you like, copy down the `templateId`, which you will need to define in your excel spreadsheet. For demonstration purposes in this article, we use the Professional Invoice template with the id: `professional-invoice`.
Building the Invoice Zap Trigger
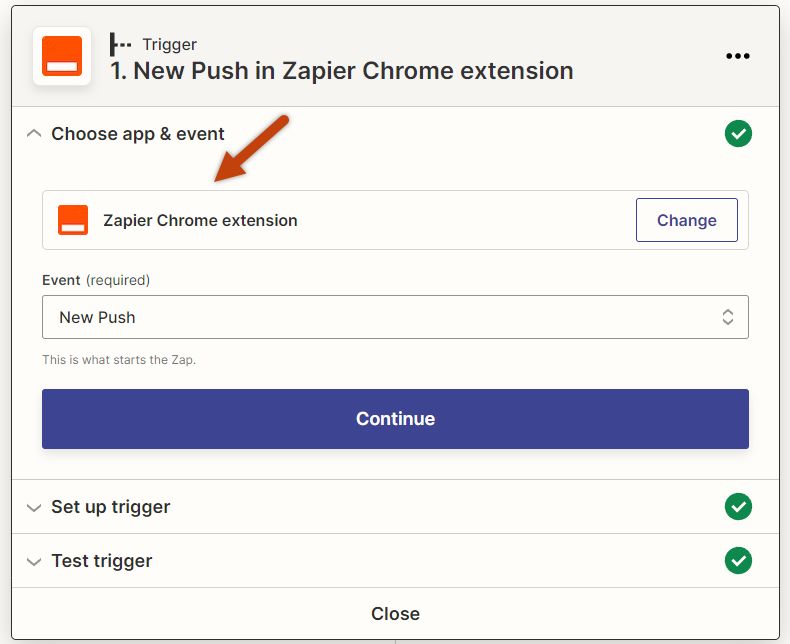
We will build out a Zap that triggers using the Zapier Chrome Extension. This extension lets you trigger a Zap from your browser, enter some data into it, and then display the results.
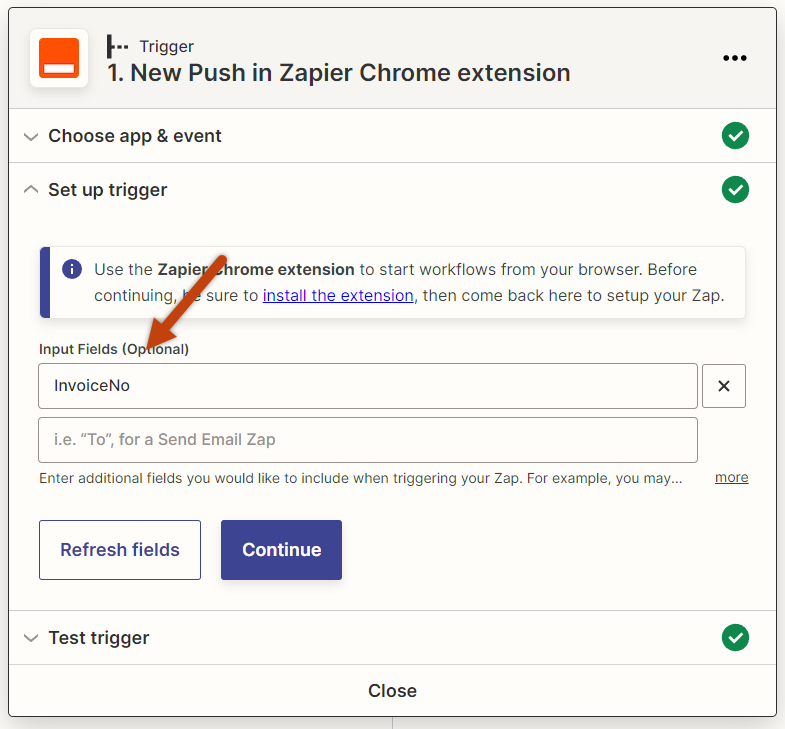
We add an input field to our Zapier Chrome Extension configuration so that the extension will ask you for the invoice number, which will match in the excel spreadsheet to find the invoice row (for the invoice data) and all of the invoice line items.
Once the Zap has been triggered, it will then fetch data for the invoice template from a Google Sheet. We will use the built-in support for line items in Zapier, which lets us also define the line items for the invoice in the google sheet.
Configure the Google Sheet
The date for the invoice template will be kept in a Google Sheet, a single row for the invoice data such as business name, logo URL, address, etc., and then multiple lines below that for each line item.

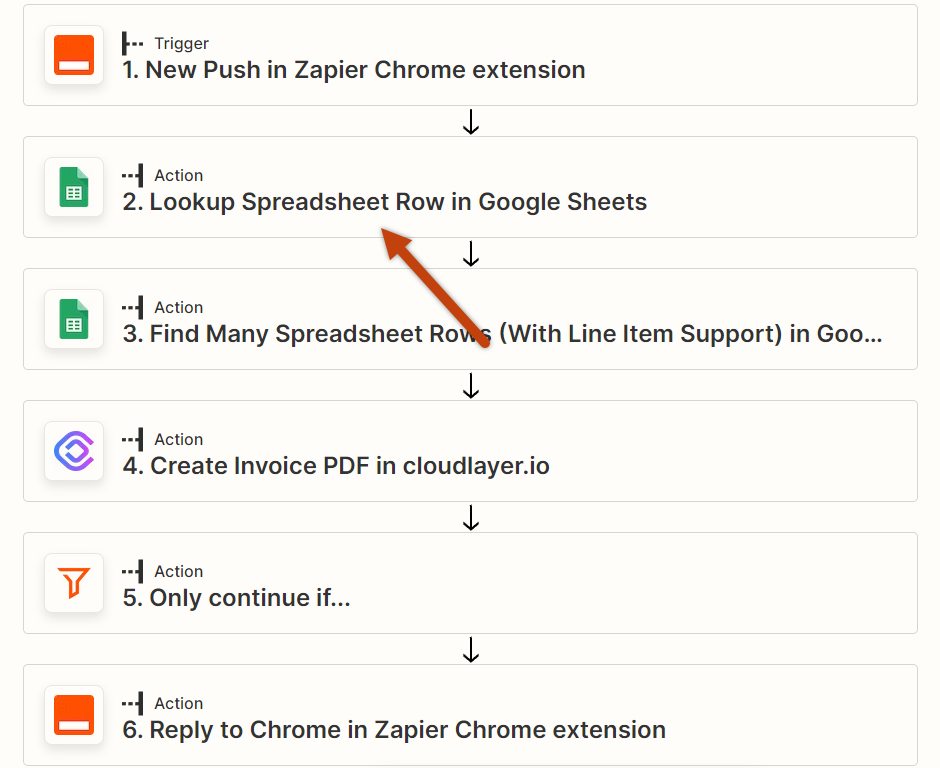
These two sets of data, the row for invoice data and line items, are tied together using two columns as identifiers. The 'Type' column and the 'invoice_no' column. We have two actions defined in the Zap to extract this data: "Lookup Spreadsheet Row in Google Sheets" and "Find Many Spreadsheet Rows (With Line Item Support)."
We will cover each of these actions in more detail below, but the short version is that the "Lookup Spreadsheet Row in Google Sheets" action finds the single row marked with a "Type" column of "Invoice" and "invoice_no" columns to find the correct row. The "Find Many Spreadsheet Rows (With Line Item Support)." action finds many rows marked with the "Type" column of "LineItem" and "invoice_no" columns to find the correct set of rows that go with the Invoice. Hopefully, that makes sense!
Configure the Invoice Template data row
This section will use the "Lookup Spreadsheet Row in Google Sheets" action.
Most of the invoice data will be extracted from a single row in the Google sheet. Let's define the action that takes care of this by defining the action and configuring it.
First, let us look at the "Lookup Spreadsheet Row in Google Sheets" action. Click the row, and it will expand.
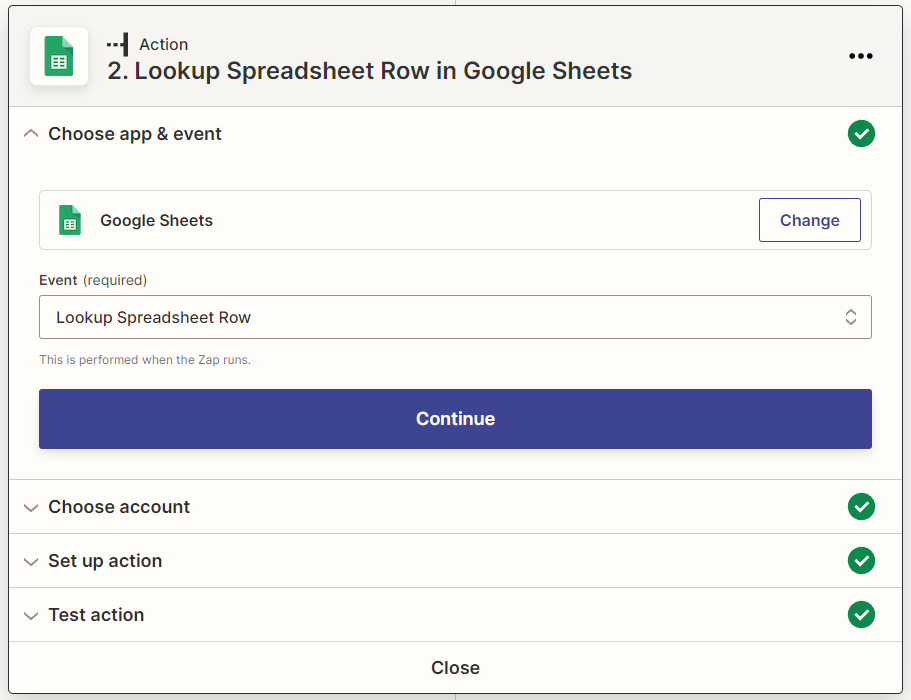
We are looking for a single row of invoice data in this action step. Choose the app & event. In this case, it will be "Google Sheets" and "Lookup Spreadsheet Row".
Click on the 'Set up action' section.

You will define the following:
- Spreadsheet: "InvoiceDataMultiline" (This will point to the spreadsheet you have chosen. Use the template provided above.)
- Worksheet: "Sheet1"
- Lookup Column: "Type"
- Lookup Value: "Invoice"
- Bottom-Up: "True"
Configure the Invoice Template line items
This section will use the "Find Many Spreadsheet Rows (With Line Item Support)" action.
The invoice line items will be extracted using this action from multiple Google sheet rows. These rows are matched to the invoice using the "invoice_no" column. Zapier has a feature called "Line Item Support", which allows you to take multiple rows of data and inject those into a single field in the Zapier editor. When the Zap runs, those will be expanded out into multiple rows accordingly.

Let's take a look at the Find Many Spreadsheet Rows (With Line Item Support) action. Click the row to expand it.
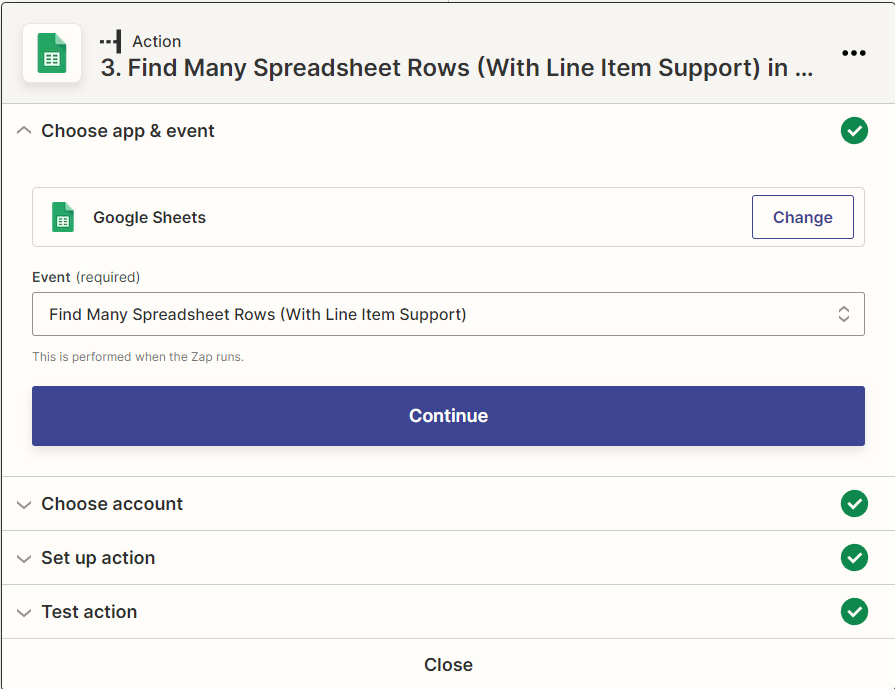
In this action, it will look for multiple rows of data. Each row will be an invoice line item that matches the invoice by the "invoice_no" column.
Click the "Set up action" section to expand it.

You will define the following:
- Spreadsheet: "InvoiceDataMultiline" (This will point to the spreadsheet you have chosen. Use the template provided above.)
- Worksheet: "Sheet1"
- Lookup Column: "InvoiceNum"
- Lookup Value: "LineItem"
- Supporting Lookup Column: "InvoiceNum"
- Supporting Lookup Value: <Choose the "invoice_no" from drop down>
- Bottom-Up: "true"
Filter Action for Successful Response
Lastly, before you can add your own actions to do whatever you need with the resulting invoice that you generated, you need to filter the result so that Zapier will wait until the response it gets back is successful. This tells Zapier to wait for cloudlayer.io to send the response back to Zapier, which tells it it's done processing the document.
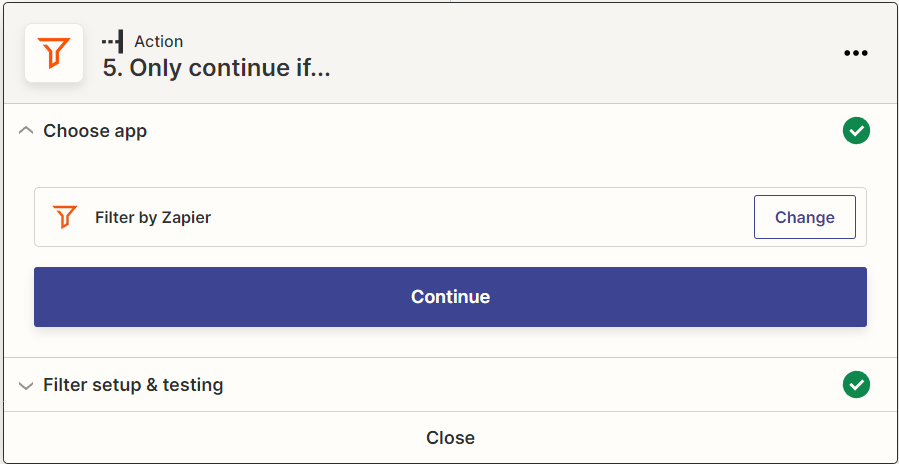
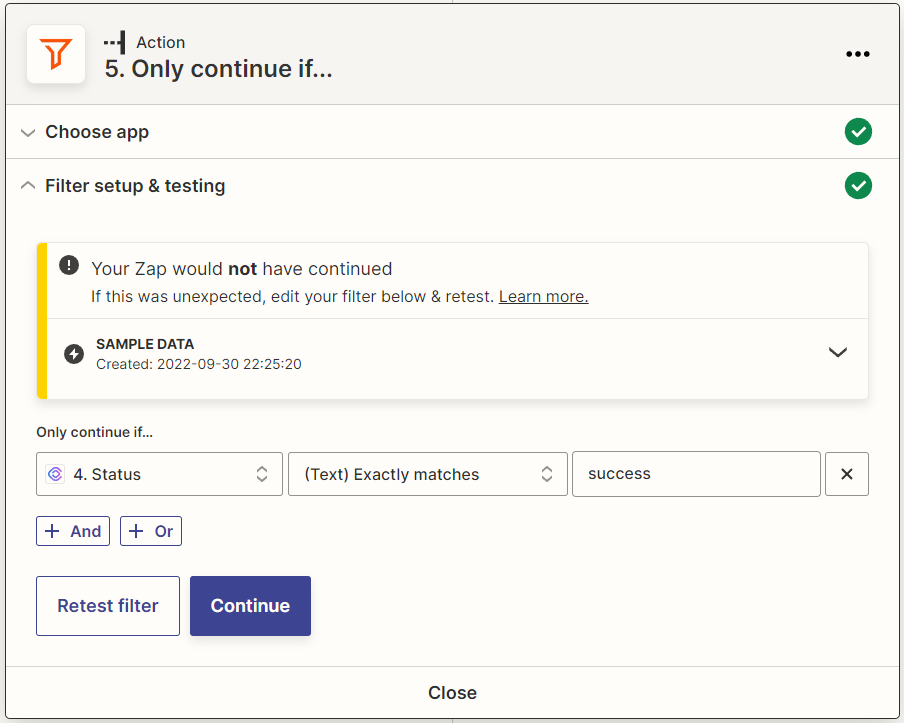
This step is a very simple conditional check. If the "Status" of the response is "success" then continue. Otherwise, wait or retry later.
You have generated an Invoice using Zapier. Now what?
At this point, you are done. You can add any additional actions you want. The important property for your integrations will be the property "Asset Url" which will contain a public link to the invoice you generated. You can feel free to send this directly to your customers. There are no bandwidth charges for using your asset links when using cloudlayer.io.
Related Blogs
 Eric
Eric Eric
Eric Eric
Eric Eric
Eric